This article which follows pertaining to How to Repair a Leaking Faucet is pretty much attention-grabbing. Check it out for your own benefit and figure out what you think of it.
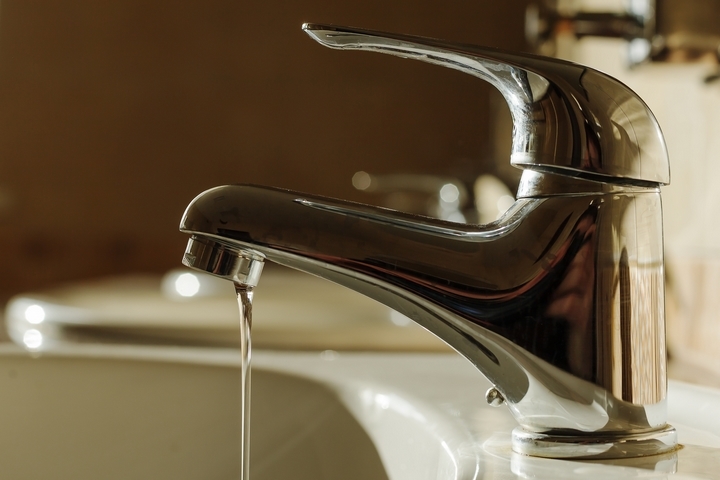
Is your tap leaking or leaking? The frustrating noise might drive you and also every person in your house insane. It is aggravating, specifically when the house is quiet and everyone's ready for bed. Drip, drip, drip! The sound can grate on anybody's nerves. Luckily, you do not need to sustain the frustrating audio. It's really simple to deal with a leaking faucet by following this mini-guide.
Preparation Your Devices for Dealing with
You could currently have the devices stowed away in your toolbox if you're a handyman. Ought to you miss some tools, you can readily acquire these in any kind of equipment shop. You will need the following:
Switch off Your Supply Of Water
Prior to you attempt to fix your dripping faucet, you have to transform off that water supply that feeds it fresh water. Usually, there are two shutoffs, one for the cold and also the other for the hot water supply. Establish that water is cut by transforming on the tap.
Obtain the Handle Handle
Once all the water is reduced, you can proceed with getting rid of the ornamental cap off the take care of knob utilizing your flat head screwdriver. When the cap is off, you will see a little screw that secures the manage to the stem of the faucet. Eliminate this screw with your Phillip's screwdriver so you can pry the manage from the stem.
Remove the Tap Stem
Depending on your faucet arrangement, the stem will easily pop out, or you will have to turn it off the valve. When the stem is gotten rid of, check the components for wear and tear.
Replace the Rubber Bands
From there, you have to replace the washer, which is frequently found in the base of the stem within the valve seat. It would be best to replace both to make sure that the trickling stops. Otherwise, you will certainly still listen to the drips.
Put Back the Faucet in position
As soon as you've replaced the washing machine and also O-ring, you must reconstruct the tap by adhering to the reverse order of removal. Resist the urge to over-tighten anything so as not to strip the threads. Then, when it's back in place, examination it out by activating the water and faucet. If it still leakages, you can have a bigger problem like valve corrosion, broken, plumbing, or torn seals. In this situation, calling a professional plumber to do more complicated repair work remains in order.
Is your faucet leaking or leaking? Drip, drip, drip! Before you attempt to repair your dripping tap, you need to turn off that water supply that feeds it fresh water. It would be best to replace both to ensure that the trickling quits. Or else, Information Here you will still hear the drips.
5 Easy Steps to Fix a Dripping or Leaking Faucet
Turn Off the Water Supply
Before you start dismantling your faucet, make sure you turn off the water supply that’s feeding it. If you forget to turn the water off, then you’re going to be in for a major mess. If the faucet you’re fixing is a sink faucet, then the shut-off valve should be located directly under it inside of the vanity or cabinet.
There will be two shut-off valves, one for the hot side and one for the cold side. Shut them both off by turning the handles clockwise until they can’t turn any more. Turn both taps on to make sure no water comes out of the faucet, so you know that the flow of water has been stopped.
Remove the Handle Knob
Use the flat head screwdriver to pry off the decorative cap on top of the handle knob. This will expose a small screw that is used to mount the handle to the stem. Remove the screw and then pull the handle off of the stem.
Remove the Stem
Take the C-wrench, or adjustable wrench, and loosen the packing nut to reveal the stem. Depending on your faucet’s style and manufacturer, the stem will either pop right off, or it will have to be twisted off of the valve. Once the stem is removed, check all of the parts for any signs of damage.
Replace the O-Rings and Washer
The O-ring is the thin rubber ring that sits around the mid-point of the stem, while the washer is located at the bottom of the stem, inside the valve seat. Either one could be the reason for the leak, so it always pays to replace both while you have the stem exposed.
When replacing O-rings and washers, it is crucial to make sure the replacements are an exact fit. If necessary, take the old O-ring and washer to your local hardware store to help ensure you choose the correct size.
https://www.homes.com/blog/2016/03/5-easy-ways-fix-dripping-leaking-faucet-home/
We had been shown that article on How to Repair a Leaking Faucet through an acquaintance on our other web property. Do you know about somebody who is inquisitive about the topic? Feel free to share it. Thanks a bunch for your time. Come back soon.